Getting past a work deadline means I have time to play. Yay!
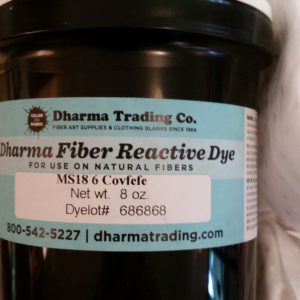
I bought some marked down dye from Dharma Trading Co (with the best color name ever) and ripped up a sheet a friend gave me. It’s a white on white pattern of tiny squares.
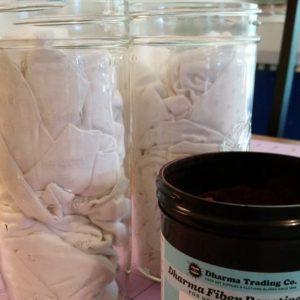
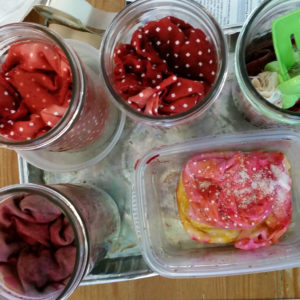
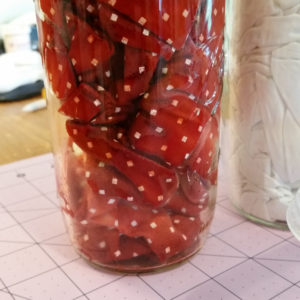
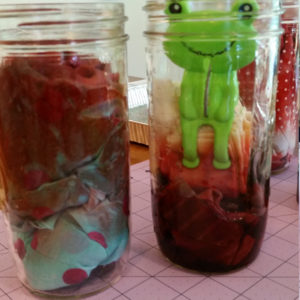
I think low water immersion dyeing is my favorite because it makes great textures, so I crammed my fabric into some mason jars hoping there’d be enough nooks and crannies to create interesting folds and shapes.
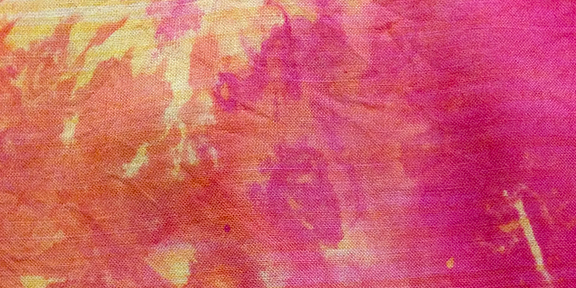
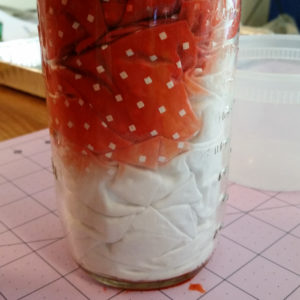
I mixed two batches of dye, one using about half the dye as the other. I was just eyeballing it, so I’m not sure how much it was exactly. I poured the liquid dye over the fabric from the top of the jar and let it soak in. One got pretty much saturated and the other ended up with some white undyed.
I let it sit about an hour before I rinsed it out. The pattern of the white squares was really obvious. I thought it would dye a little more than it did, but I still like the result.
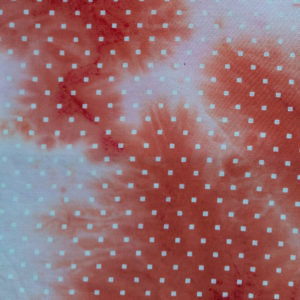
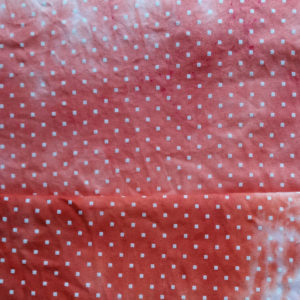
The photo on the right (above) is probably closer to the real color; it’s more pink than orange. It’s a very pretty color. Look at all that feathering. So nice.
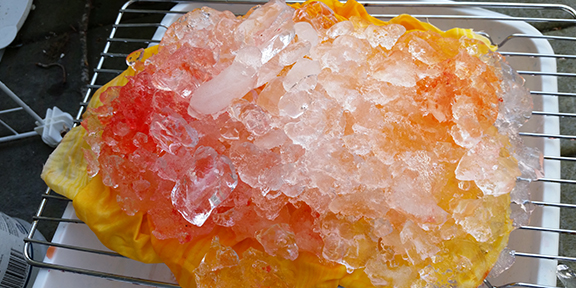
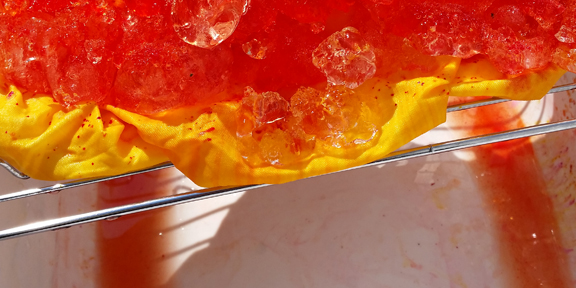
I had some other fabrics I wanted to try to overdye. One crappy Ikea curtain (that I used as a table cover for art shows for a while) that just looks terrible no matter what I do to it, and a couple of rust dyed fabrics that weren’t very remarkable. I crammed some of them into jars and one of the striped ones I folded and clamped, and only immersed the edge so the dye would wick upwards.

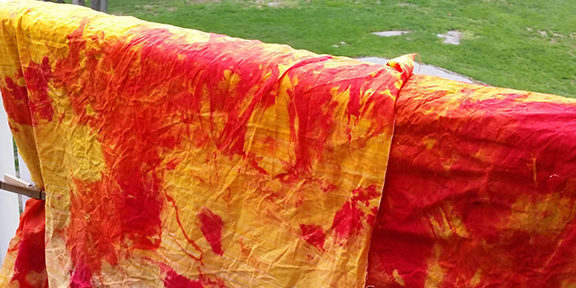
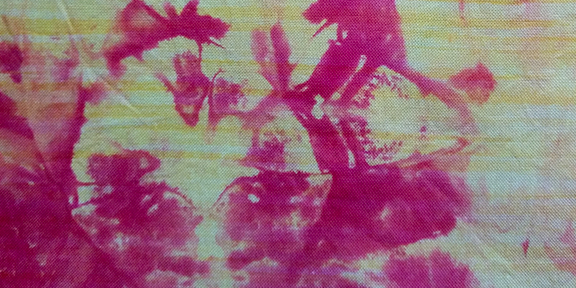
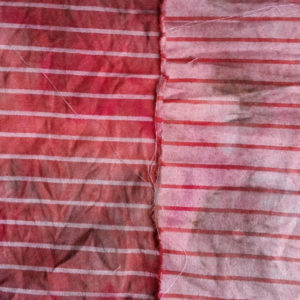
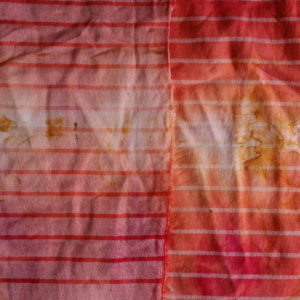
The crappy Ikea curtain was still wet, so I didn’t get a photo of it, but the striped fabrics turned out so beautiful. They’d been rust dyed with tea the first go around. The one that was immersed completely is now a deep red on one side and a beautiful pink on the other side (picture on the left, below). The one I folded (on right, below) came out with lovely gradations of red, orange, and yellow.
I love, love, love this process. I love the surprise textures the low water immersion creates. And while I don’t usually use anything but 100% cotton fabrics, the way the cotton sateen sheets dyed differently on each side was fun.