Rust Dyeing

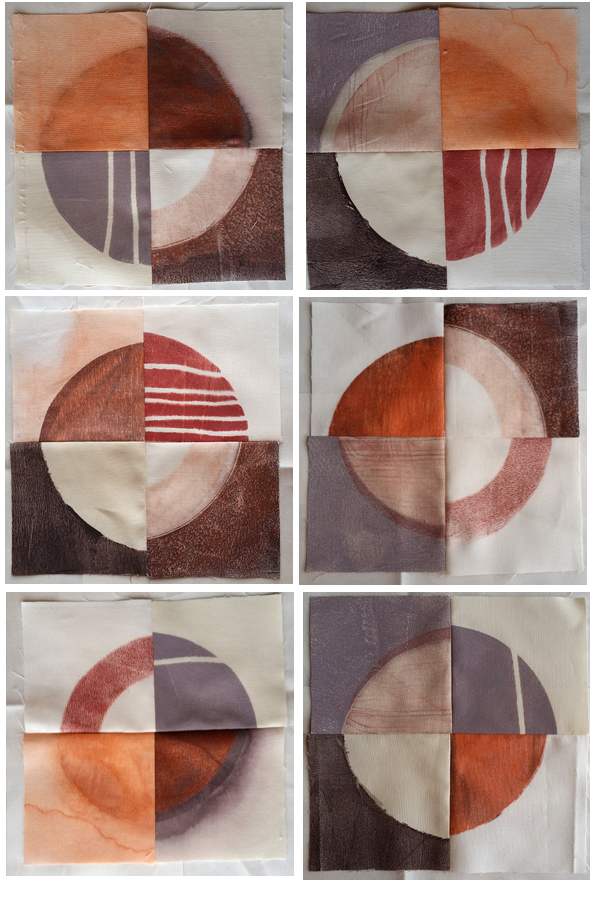
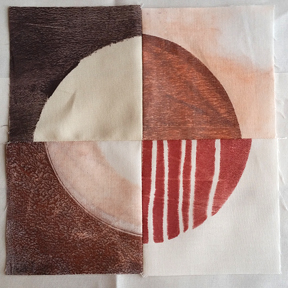
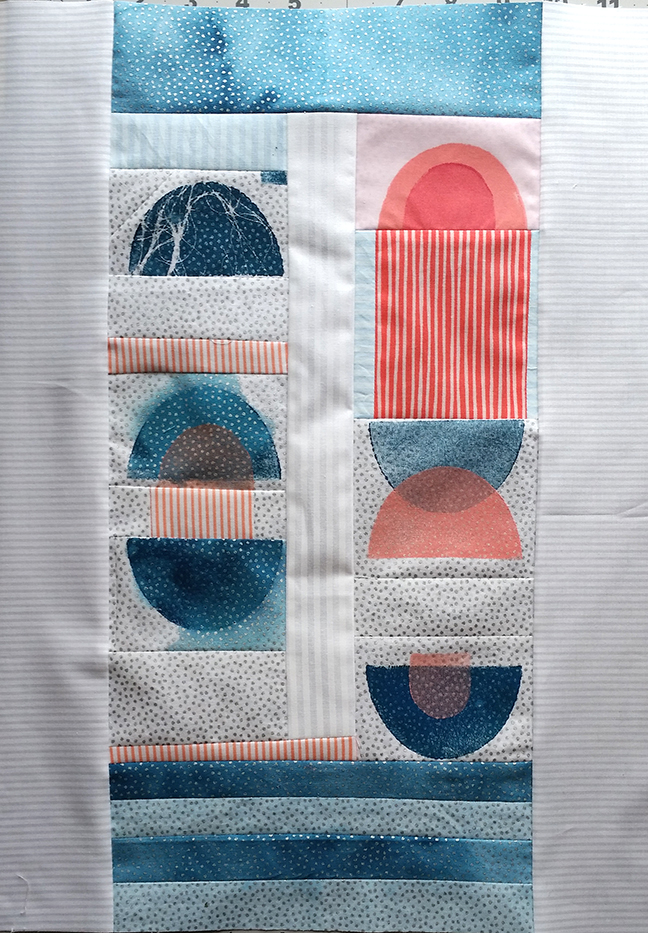
I have had plans for a while to make a quilt about my chronic anemia. Since it’s all about iron deficiency, it only makes sense to involve some iron in the making of the quilt itself. That means rust dyeing! Yay!

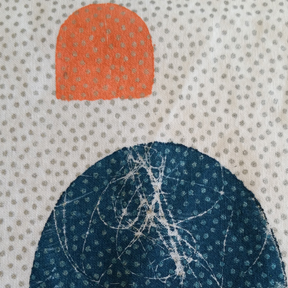
I had previously done some rust dyeing with washers and loved the way the dyed fabric looked. Sort of like red blood cells…or close enough to represent them, anyway.


I found some rusty metal letters online. I had no idea how many people sold rusty things online until I started looking for metal to rust myself for dyeing. I bought the whole alphabet plus some numbers and a few extra interesting shapes.


I soaked my fabric in vinegar, laid out the washers and the letters and then covered it with another layer of fabric. I made sure the top fabric made good contact with the metal. I love the subtle look of the metal showing through the wet fabric.


I also layered some printed fabrics (in a frisbee because I am a professional artist and use only the best, most professional equipment) with the letters and shapes I had left over.

It was a sunny day, so I put the tray and the frisbee in plastic bags and put them out on the porch in the sun. The iron was already oxidizing within a half hour. I left them for 5 hours and then opened them up to see how they looked.

So, how did they look? Dreamy!

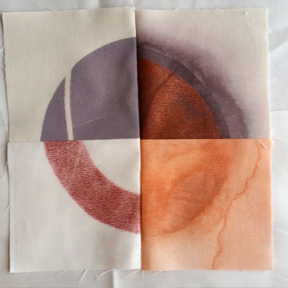
Look at that delicious texture. And the printed silver still shows through the dye. I wasn’t very careful about the way I laid the fabric over the metal, so I ended up with some interesting folds and mirror images.

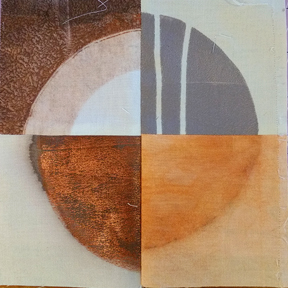
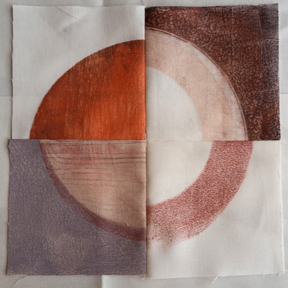
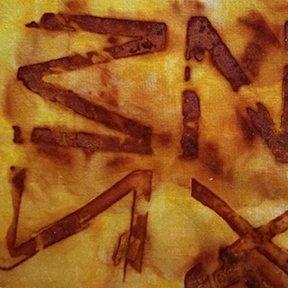
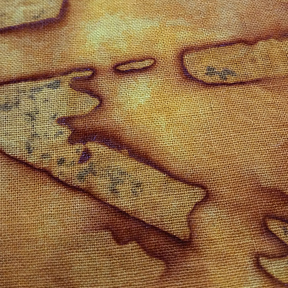
For the fabric I dyed specifically for the quilt, I put a piece of fabric under the metal and then on top, like a sandwich. The top piece of fabric got more air than the bottom, so the metal oxidized more (left image, below). It’s much darker, with less definition and texture. The fabric that was on the bottom (right image, below) has such great texture, but there were places where the metal didn’t affect the fabric at all, so some of the letters aren’t readable. I like both.


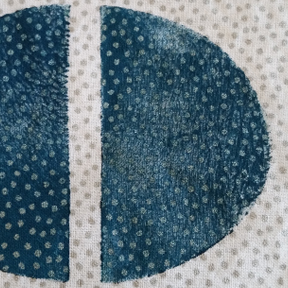
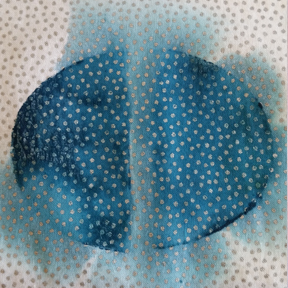
Below are the yellow printed fabrics I used. The left image was the top layer and the right was the layer on the bottom. So pretty!


I have one more piece of fabric to dye to finish the words I want to use in the quilt, and then I will figure out where I’m going with this whole thing. So much fun experimenting!

Circle Studies

Circle study blocks

I wanted to do a bunch of circle blocks with the circles cut into quarters. That’s where I started. I cut some white and off-white fabric and used a circle stencil over a gelli plate to get the print.

I don’t know where this palette came from; it’s so far from what I normally use, but I don’t hate it.

I wasn’t sure where I was going, but I knew I wanted a lot of variation in these prints.

I did some positive prints and a few negative ones.

Some with string masks and sprayed some with water.

I like the ghost print in the bottom right of the block below. It was printed twice, once with the grey outside and then I overprinted the ghost print circle.

Even though the circles were all the same size, I didn’t cut the blocks all the same size, so there’s some places where the edges don’t meet up.

Another layout of the blocks.

I am going to do this again, a little smaller, with different colors. I also want to experiment with layout and not making all of them back into circles. I’d also like to try using a block print to apply the paint instead of the gelli print to see which I like better.

Block printed shapes

I headed into this with the vaguest of plans. My favorite way to start any project. I bought some craft foam shapes and cut them up. I thought what I wanted was to create some fabric to add to a WIP, so I used the same ink/colors I’d used in that project, but I ended up going in a totally different direction.

Simple, simple, simple process: block printing on fabric using shaped foam blocks.

I’ve bought so much of this white and silver fabric. It dyes beautifully, with the silver dots still showing through. I was happy to see the metallic ink is still visible after printing on it.

I added some water to see if I could make the shapes more interesting. I envisioned quilting/stitching around the original shape if I ended up using the print in anything.

Layered print/color.

With string resist (scrounged from the sewing trash). Now I don’t feel so bad about all that sewing thread I end up throwing out; at least some of it gets another life.

First attempt at a pieced composition.

I think it’s a start. I can see a few things I’d change if I started over. I’m going to try out some different quilting styles to see what I like on top of these kinds of prints. And because sometimes you just have to see a project through to prove you can.